Learn How to Track Text to People
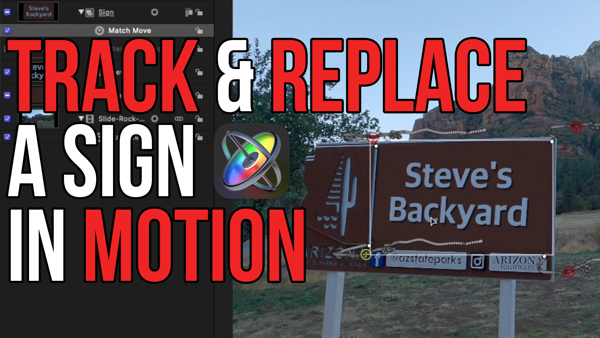
In “Under 5 Minutes” Mark Spencer will teach you how to make text or graphics track the path of a moving object in Motion 5 using the Match Move Behavior in the Motion Tracking category.
Learn which tracking points are best, and how to use Motion to analyze your clip to show you optional tracking points.
In this episode, I’m going to show you how to track text to a moving person.
I’m Mark Spencer from RippleTraining, welcome to Motion Magic where you’ll learn visual effects and Motion graphics in under 5 minutes. Because I’m going to be using a video clip in this project, I’ll choose create project from file. I’ll select the file I want and choose import as project. Then I’ll press Shift+Z to fit the clip to the window. If I scrub through the clip, we can see we have a diver moving through the water. When selecting a clip to track, you want a subject that doesn’t start off the screen or end off the screen, and also that doesn’t pass behind other objects. In this case, I want to track the camera in the diver’s hand to add some text to it. I want my track to start here, at about 2 seconds to so I’ll press Option+Command+I to set a play range in point. Now let’s add some text. I’ll press the T key, click in the canvas, type Underwater Housing, and press the Escape key. In the heads-up display, which you can toggle on and off with the F7 key, I’ll check out my fonts, I like what I have, adjust the size, switch to Italic, and evaluate some other colors, maybe right there. To track this text to the camera, I’m going to use a Behavior. In the Library in Behaviors in the Motion Tracking category, I’ll locate the Match Move behavior and drag it onto the text layer in the layers list. In the heads-up display, the source for the tracking is identified as the video. However, if you wanted a different source, you could drag any other video clip into this little well. The default type is already correct, we want a transformation, and we’re just going to track position here, we don’t need to track scale or rotation because we don’t want the text to change its scale or rotation we just want to track the position of the camera. In the canvas is a red target. If I click on this red target, we get a blown up view of the underlying video. But how do we know how to find a good track point? Well Motion can help us do this, if I press down the Option key, Motion analyzes the video and identifies what it thinks are good tracking points with small red plus signs. Generally a good tracking point will be one that has very good contrast and edge detail. If we look at the camera, Motion has identified two possible good tracking points on the camera. So I’ll move the target over one of them. Now all we need to do is analyze clip. When Motion analyzes the clip it drops white dots at each frame of the video to identify where the text is moving to. I’ve sped up the analysis to make this good quicker. If I scrub back over it, we can see the text now follows a path identified by that tracking point on the camera. If I don’t want to see the overlays I can press Command+/ to hide them. Let’s play from there. We can see that the text perfectly tracks the camera until the camera moves behind an object. Let’s see a play range out point right here, Command+Option+O. Now the cool thing is that we can reposition this text and it will still track. I’ll select the text in the layers list and reposition it in the canvas.
I can even reposition it while the video is playing.
You can even apply an existing match move to another object. In the Library, in Favorites, I’ve saved a graphic of an animation. I’ll move the playhead back to the start of the play range, and add this animation to the project. Then I’ll turn off the existing text layer, and drag this match move behavior onto the new group, and reposition the group. You can see how incredibly easy it is to track text and graphics to an object in a video clip. Click the Subscribe button below and please leave us your comments and suggestions for future topics. Go to RippleTraining.com for fast professional training on Final Cut Pro X, Motion, and DaVinci Resolve from industry professionals.


