
If you’re considering getting into the bold new world of 360 video or have already taken the plunge, you may be aware there are a few hurdles in the post production process for this type of video. Today, we at Ripple Training are going to help demystify some of the steps required for working with this format, as well as explore some of the tools to help you along the way.
360 VR Video Basics
Perhaps you just got your 360 camera in the mail and are trying figure out what to do with it, or maybe you’ve been shooting for awhile already and want to share your story with the world. If you’re a Final Cut Pro X user, you’ll find there are some additional steps required for importing this video type because of the way the video is captured.
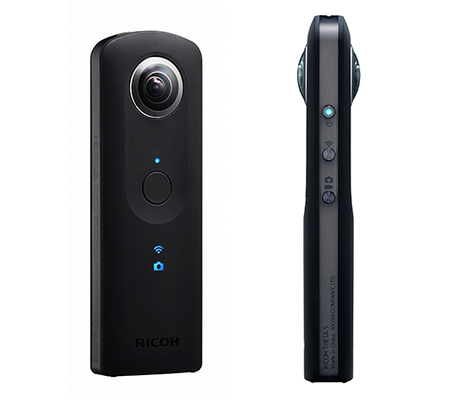
To start, many consumer grade 360 cameras like the Ricoh Theta S use a fairly simple method of mounting 2 sensors 180 degress from each other behind a pair of extreme wide angle lenses.
The camera captures and records the data as two circular images in your video frame, as this image depicts.

Converting your 360 VR Video
Unfortunately, Final Cut Pro X doesn’t have the built-in ability to make much sense of these images, so it will just play them back as two animated circles. The video will need to be stretched out into an Equirectangular image. This is done through a Mercator Projection, just like you would see on a world map. Fortunately, most of these cameras come with their own software to apply the projection, or they do it internally.

Once your image has been converted into an Equirectangular format, Final Cut Pro X has a solid foundation to work from. As a matter of fact, if you don’t plan on doing any further work to your clip or sending to YouTube, you can export the video now. If you are delivering to YouTube, be sure to read below where we explain how to attach the 360 video metadata.

Useful Tools for 360 Video
Dashwood 360 Toolbox & 360 Express
If you have further editing to do, there are some great plugins available. First on deck is 360 VR tools from Dashwood 3D. There are two versions available, the full-powered toolbox for $1,199 for high resolution workflows, and the Express version for $119 for the rest of us. The express version is very powerful, and provides a lot of functionality for the entry level user. For example, the Express version allows you to reorient your video, in case you had to get creative with mounting your camera.
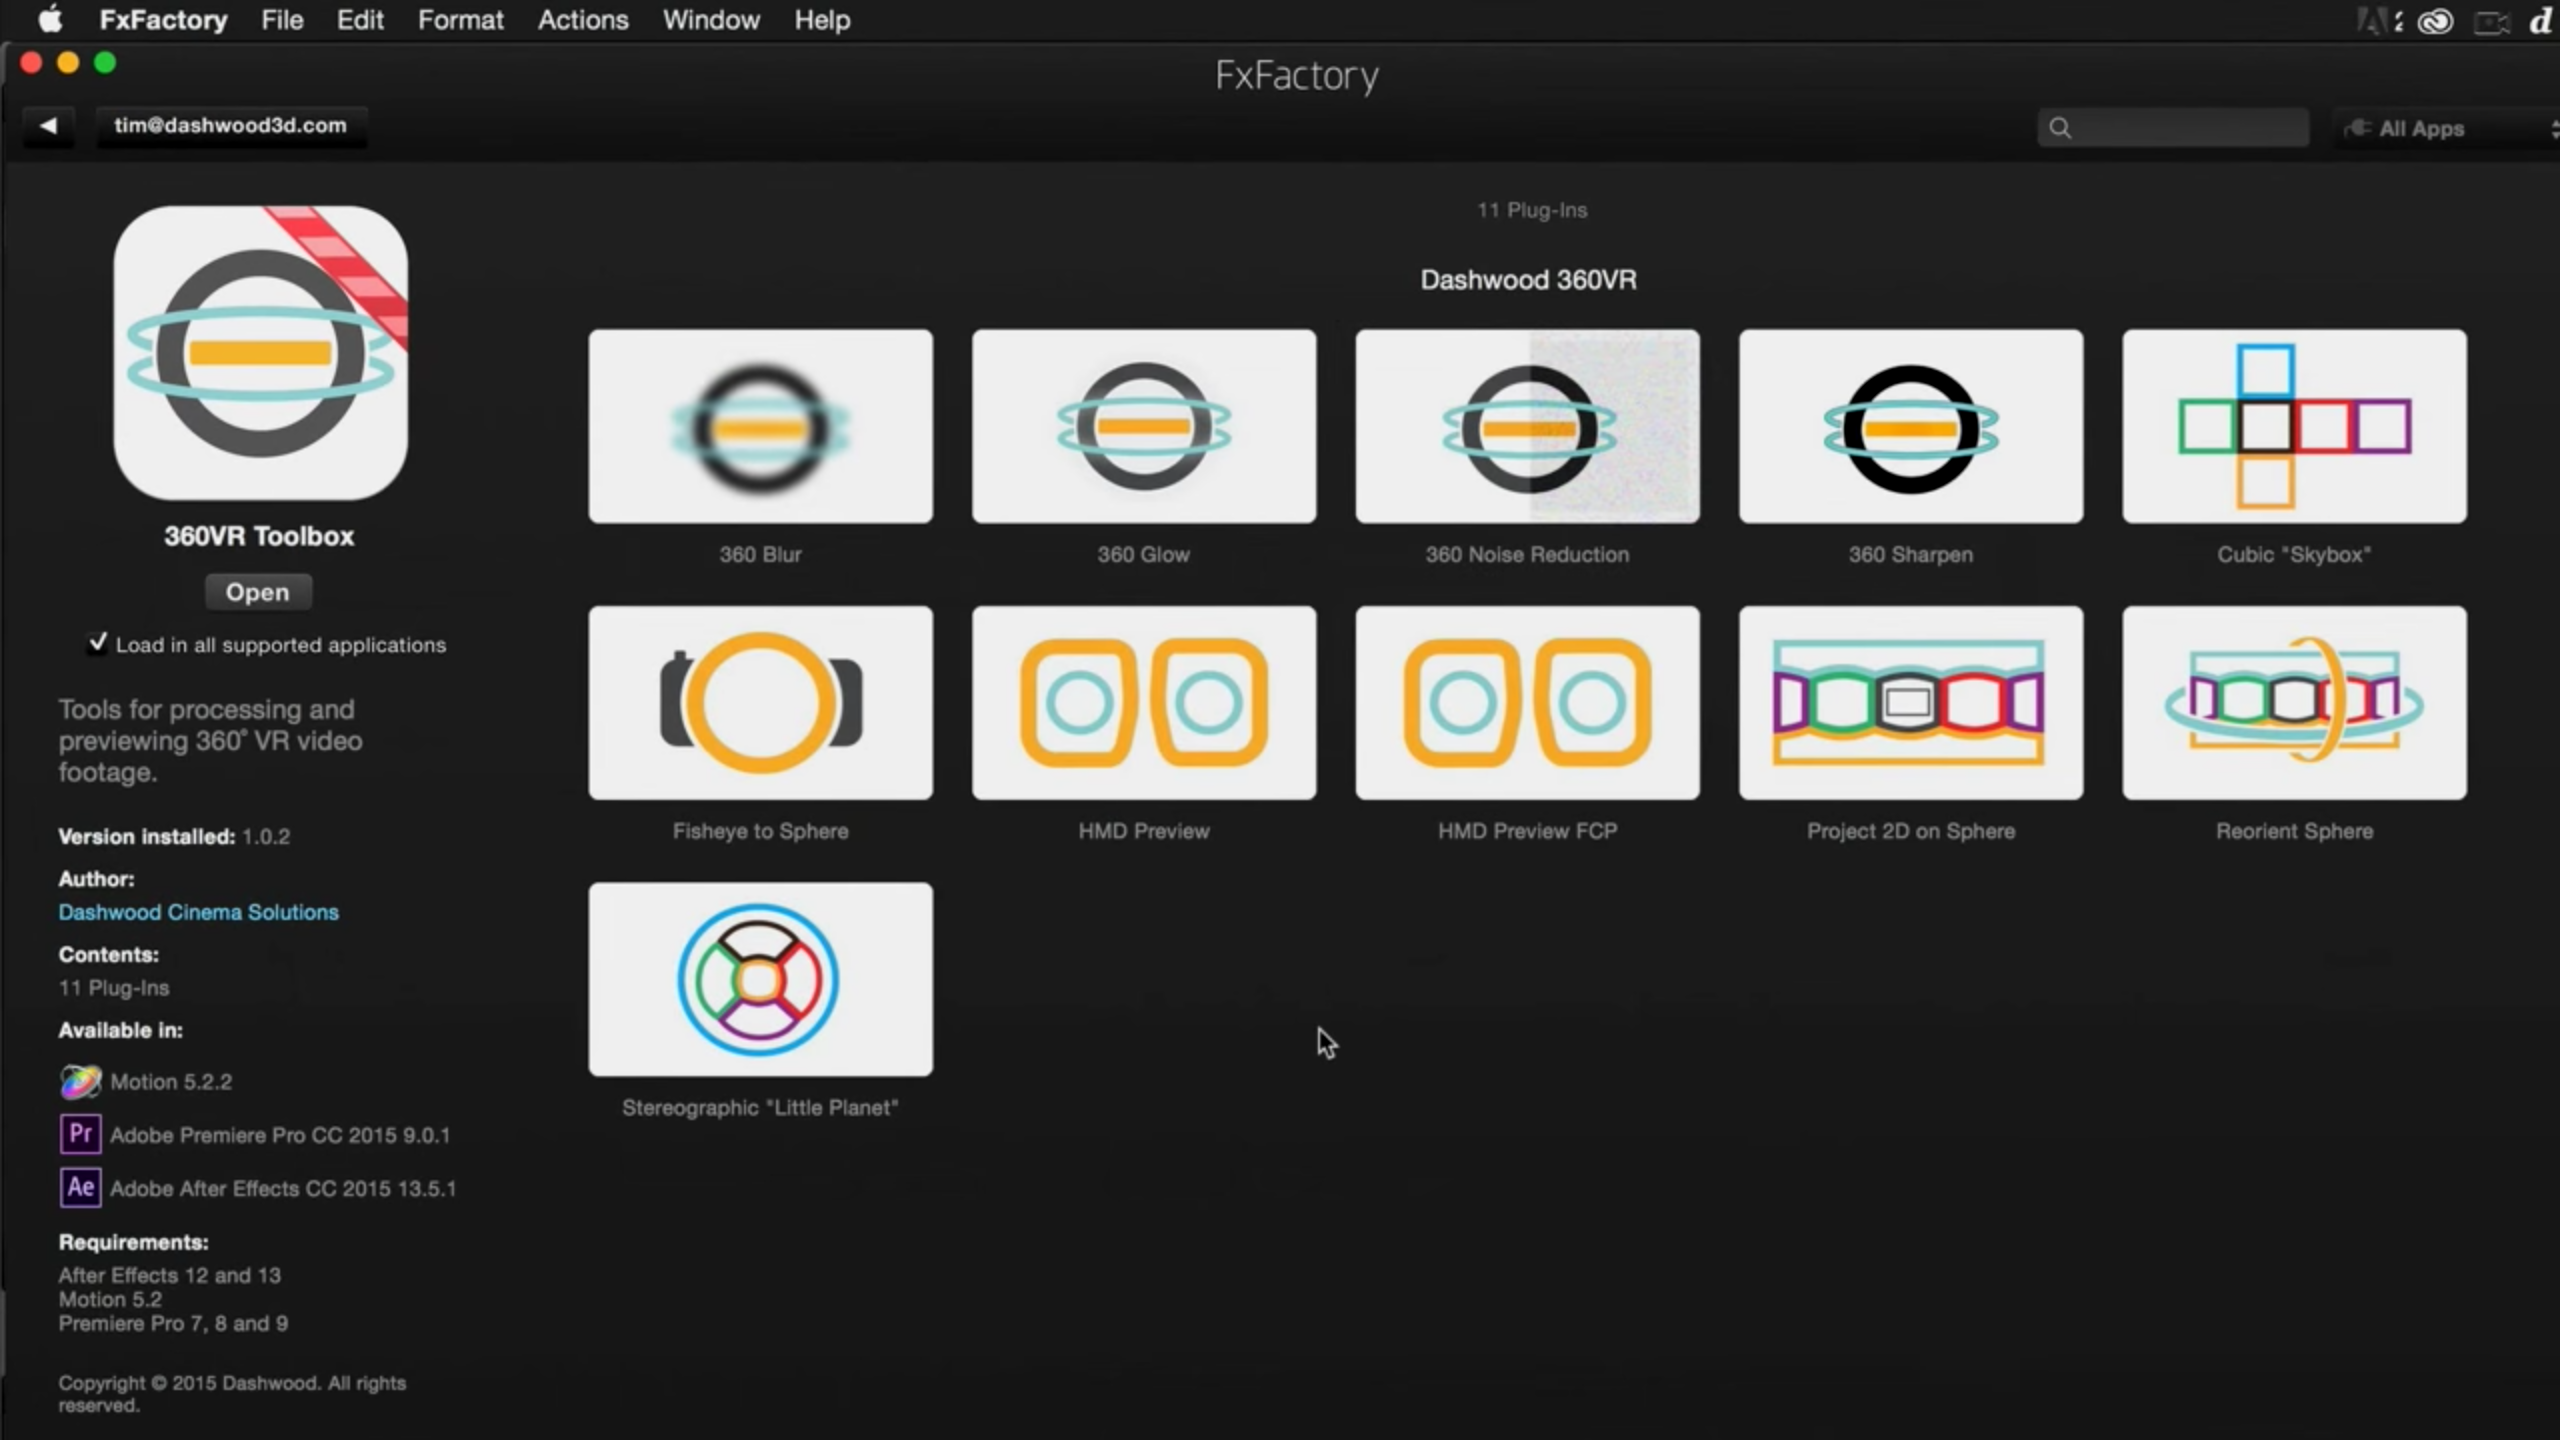
There is also a Head Mounted Display (HMD) Preview app that allows you to test your video in an environment more germane to that of your audience. The express version also has tools for inserting graphics, logos, or any 2D image or video into your sphere, if you so desire.

SugarFX Resolve 360
The second plugin we are looking at is called Revolve 360 from SugarFX, which has several presets for changing the appearance of your video, as well as controls for animating Pans, Tilts, and Zooms. At only $49 it’s great tool to have in your arsenal.

Download Spatial Media Metadata Injector to Attach 360 Video Metadata for YouTube
Once you’re done editing and exporting your footage, you will need to add some metadata in order to help YouTube and/or Facebook recognize your video as a 360 video. This is done through a free app called the Spatial Media Metadata Injector (try and say that three times fast), which is available free from YouTube (the download is in step 2).

Using the Spatial Media Metadata Injector to Attach 360 Video Metadata
Simply launch the Spatial Media Metadata Injector, open your exported clip, check the Spherical checkbox, and click Save As. The process happens very quickly because the app is just making a copy of your video with a tiny amount of additional metadata inside. The finished file will have the word “injected” at the end. Now you’re ready to upload to YouTube as usual.

Troubleshooting 360 VR Video and Image Quality
Sometimes you may have problems where 360 video isn’t working correctly. Unfortunately, 360 video technology isn’t compatible with all internet browsers, so if you’re having difficulty with your video, double-check your browser’s compatibility. When uploading to YouTube, it can take a few more minutes for YouTube to process than normal because it is rendering the 360 environment after you upload. Get up and stretch your legs for a few minutes, check our training website for any deals that you must have, and then check your video again. Lastly, you may notice the video quality of the final product isn’t great. Unfortunately there aren’t any quick fixes for that. Why? Remember that original clip with the two circular frames?

These two circles are the sum total of all of the image data collected by your camera, and in order to make a usable video out of them, those two circles are stretched, flattened, unraveled, scaled up, and extrapolated into the flat image you put up on YouTube. In other words, that’s as good as it gets for a consumer-grade 360 camera.
Higher Quality 360 Video Options
If you want a better quality video, you’ll have to invest in more expensive options which vary widely in price. The pricier options capture A LOT more data. Typically these systems utilize an array of 6 or more individual cameras capturing footage in 4K. And instead of taking two tiny circles and stretching them out, they stitch all of those full-size 4K videos into a large high-resolution sphere. Needless to say, you will need a lot of storage space, and a powerful computer to deal with it.
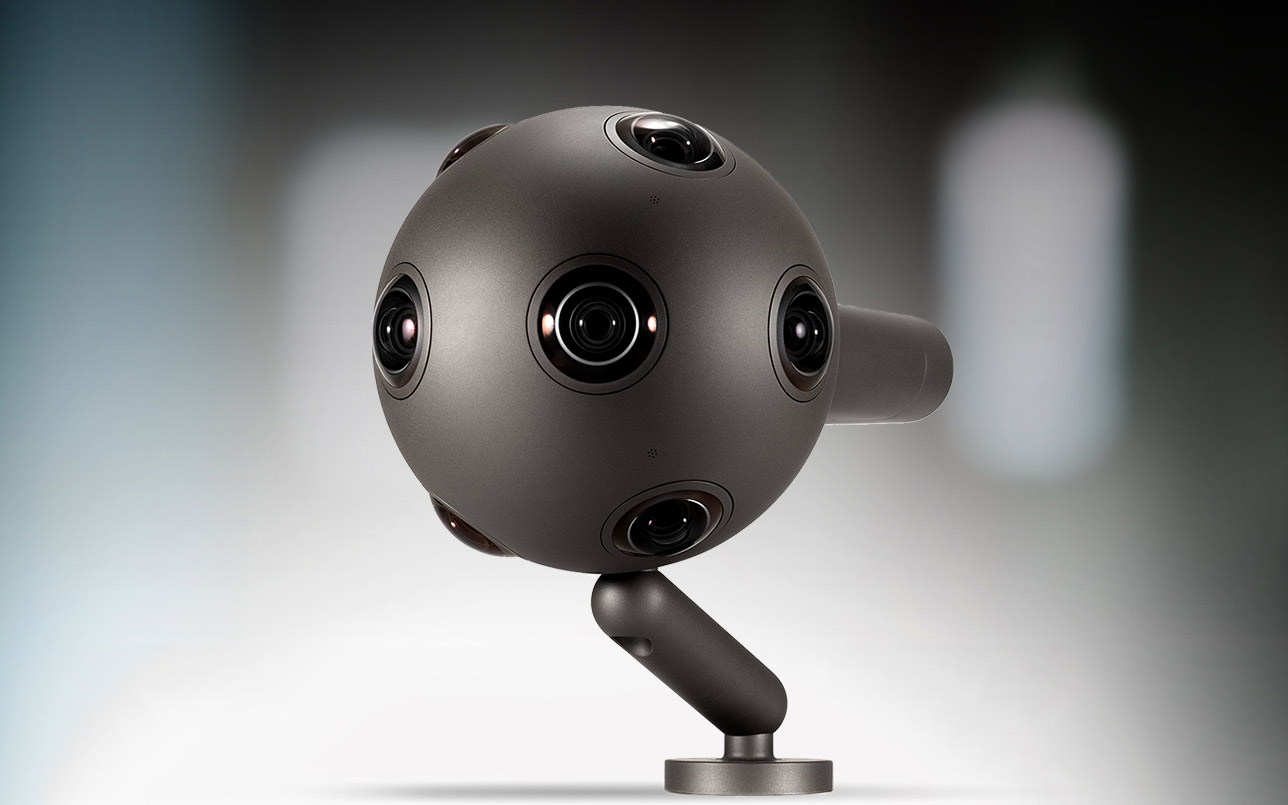
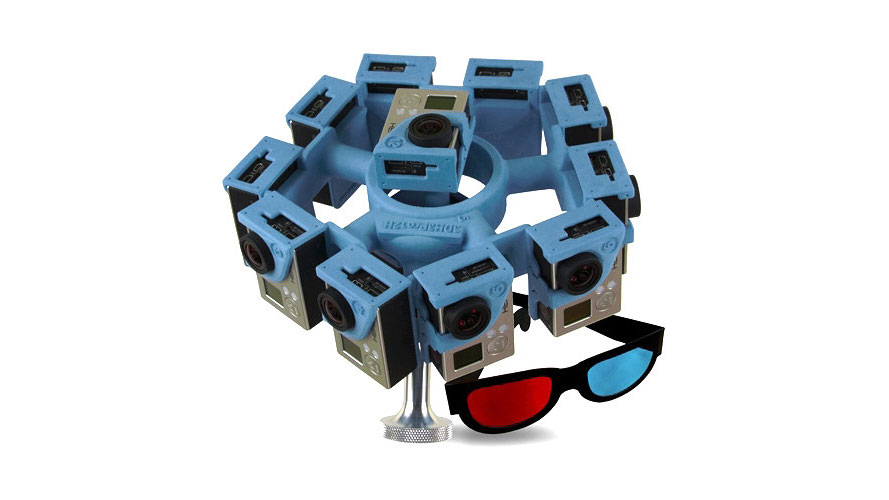
So, before you go out and invest gobs of cash into a high resolution 360 system (and accompanying editing suite), check out one of the low cost consumer options out there. They are fantastic for exploring this technology and allowing you to figure out how to implement 360 video into your story-telling process without taking out a second mortgage.




One thing I’m struggling with is how to “flatten” titles, so they’re not curved. Is there any specific plug-in (or trick) I can apply in FCPX? Thanks!
I use FCP to edit my videos. I want to test them in my Samsung S6. Unfortunately, I cannot figure out how to ge the sound working. Did you succeed to play it in your Gear after exporting it with FCP? If yes, how?
Hi Frederic,
The problem you’re having is the output of the video is probably mov.
in FCPX you should go to:
>> File
>> Share
>> Master file
>> Settings
>> Under format your change the setting and choose “Computer”
This will export the file as a MP4 which you can directly tranfer onto your Samsung and play it on the gear.
Hope it is helpful, Grts Simon, China Changsha.
This is more than helpful. This is it. Many, many thanks.
I was just about to ask the same everything is crazy warped