How to Animate Text Around an Object in Motion 5
Apple’s Motion has a great text engine that works in 3D. In this episode, Mark will show you how to animate text around an object.
In this episode, I’ll show you how to animate text around an object. You can download this project for free by clicking the link below.
I’m Mark Spencer from RippleTraining.com. Welcome to Motion Magic where you’ll learn visual effects and motion graphics in under 5 minutes.
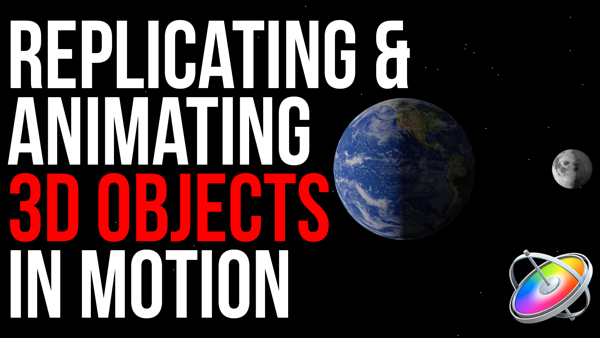
Here we are in Motion. I have a rotating earth that was built with a still image, the Sphere filter, and a parameter behavior. You can find a similar animation in Motion’s library.
You can use any object that has a transparent background. To show that the background is transparent, I’ll go to the Channels pop-up menu and choose transparent: the checkerboard represents areas of transparency. I’ll set that back to Color.
With the playhead at the start of the project, I’ll press T for the text tool, click in the Canvas, type some text, and press the escape key. If needed, I can format it in the Heads Up Display but this looks good for now.
To wrap the text, I’ll go to the Text Inspector, to the Layout pane, and change the Layout Method from Type to Path. Then, in the Path Options section, I’ll change the Path Shape from Open Spline to Circle, and increase the Radius to about 400 to be larger than the earth. Then I’ll position the text around the earth in the Canvas.
The text is now wrapped around the object, but I really want it to wrap around in 3D space so that it goes behind and in front of the object. To do that, I’ll select the Adjust 3D Transform tool, then in the Canvas, I’ll hold down the Shift key while dragging down on the red X-axis rotation circle to rotate the text 90 degrees so that it’s laying flat like a floor.
The text path now encircles the globe like the rings of Saturn, but I need the letters to stand up, so back in the Text Inspector, in the Format pane, under Advanced Formatting, I’ll open Rotation and set Rotation X to -90 degrees.
If I now return to the Layout pane and drag the Path Offset parameter value field, we can see the text never actually goes behind the globe. This is because groups are 2D by default.
In the Layers list, I’ll click the 2D/3D icon to the right of the Comp group to switch to 3D. Now if I reselect the text layer and change the Path Offset value, the text rotates around the globe.
To animate the text, I’ll right-click the Path Offset parameter name and choose Add Parameter Behavior > Rate. I’ll set the Rate to -15% and play the project. I can also rotate the text on the X and Z axes for a more dramatic effect.
Click the Subscribe button below. If you have an idea, comment or suggestion, leave those below as well. Go to RippleTrainging.com for fast professional training on Final Cut Pro, Motion and DaVinci Resolve from industry professionals.


